How to Add a Domain From Namecheap to Cloudflare
In this scenario we’ll be going over a simple process of connecting NameCheap domain to Cloudflare DNS Hosting. Let’s assume the following:
- We already have an account with NameCheap. If not, create one
- We already have an an account with Cloudflare. If not, create one
- Our app name is Crabcoin, and we’ve registered
crabcoin.ccon NameCheap.
This process is two-step, first part is done on Cloudflare and the second one on NameCheap. Let’s start!
Cloudflare (Part 1)
Log in into a Cloudflare account.
Add a site
Click on “Add a Site” button
 Enter
Enter crabcoin.cc and click Continue
 Wait a bit until there is another Continue button, click it.
Change nameservers
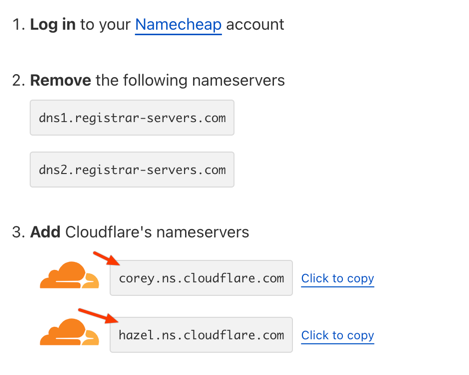
Note the Cloudflare’s Nameservers, they will be required on the next step.
 .
In our case it’s going to be:
corey.ns.cloudflare.comhazel.ns.cloudflare.com
Select Free plan and click Continue

NameCheap
Log in into a NameCheap Account and click on _Manage"
![]()
In the Nameservers section select Custom DNS

Enter the nameservers from the previous step and click the checkmark icon.

Cloudflare (Part 2)
Validate settings
Cick on Done, check nameservers

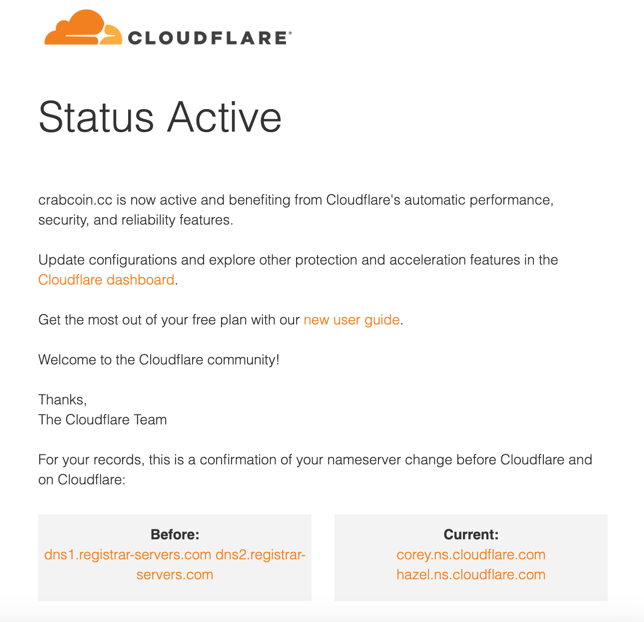
Receive confirmation settings
After some time (to me it was instant) an email should arrive saying that Cloudflare has been activated
 That’s it!